Start here:
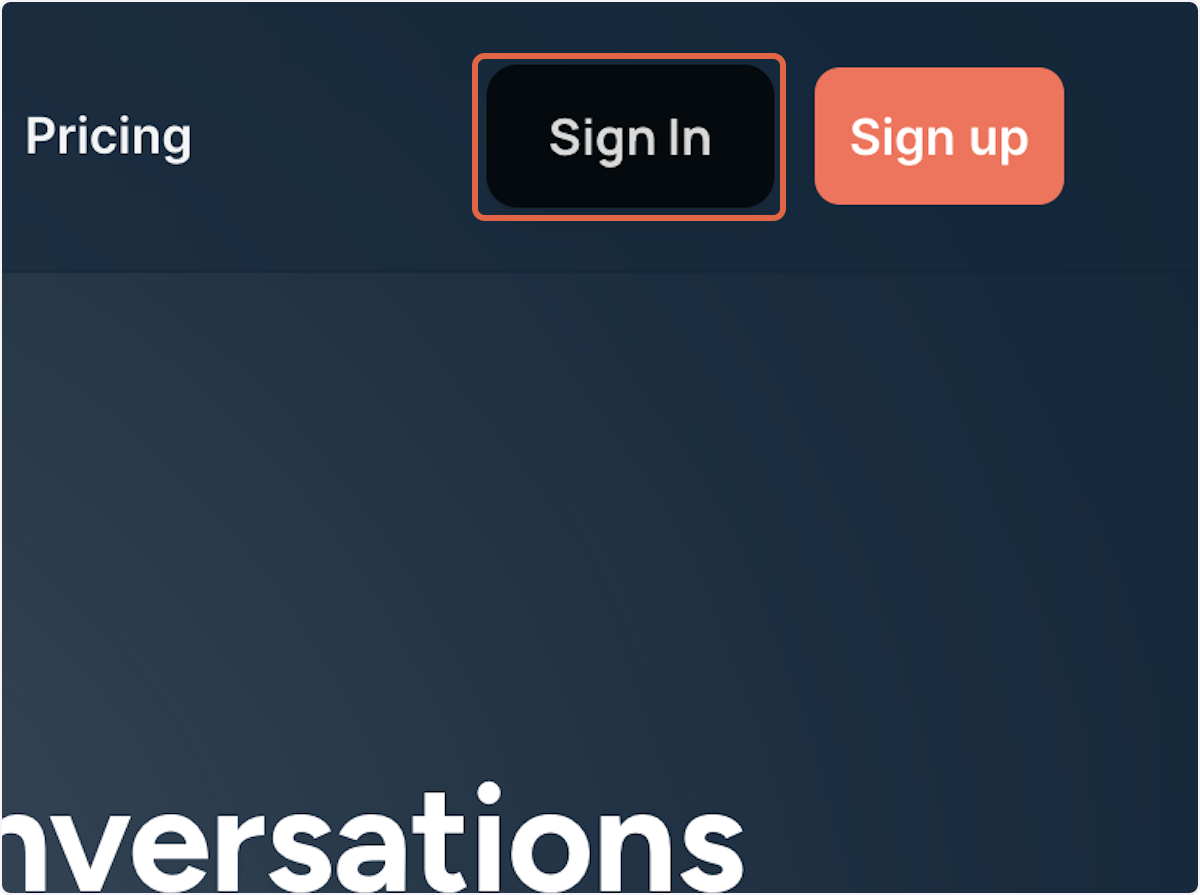
1. Click on Sign In.
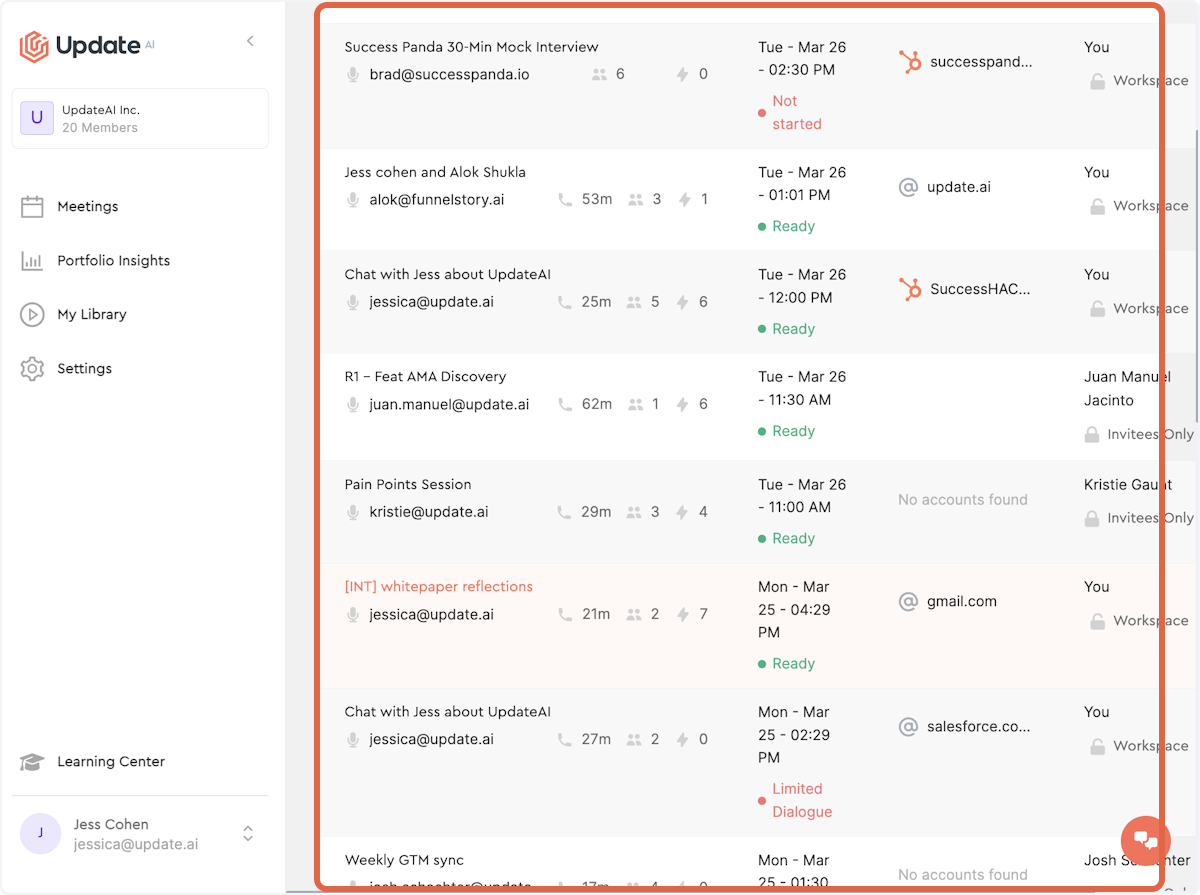
2. You will land at you Past Meetings screen. Select the External meeting you want to share. (Please note that Internal meetings do not have a Public Share option. This is to protect the confidentiality of internal meetings.)
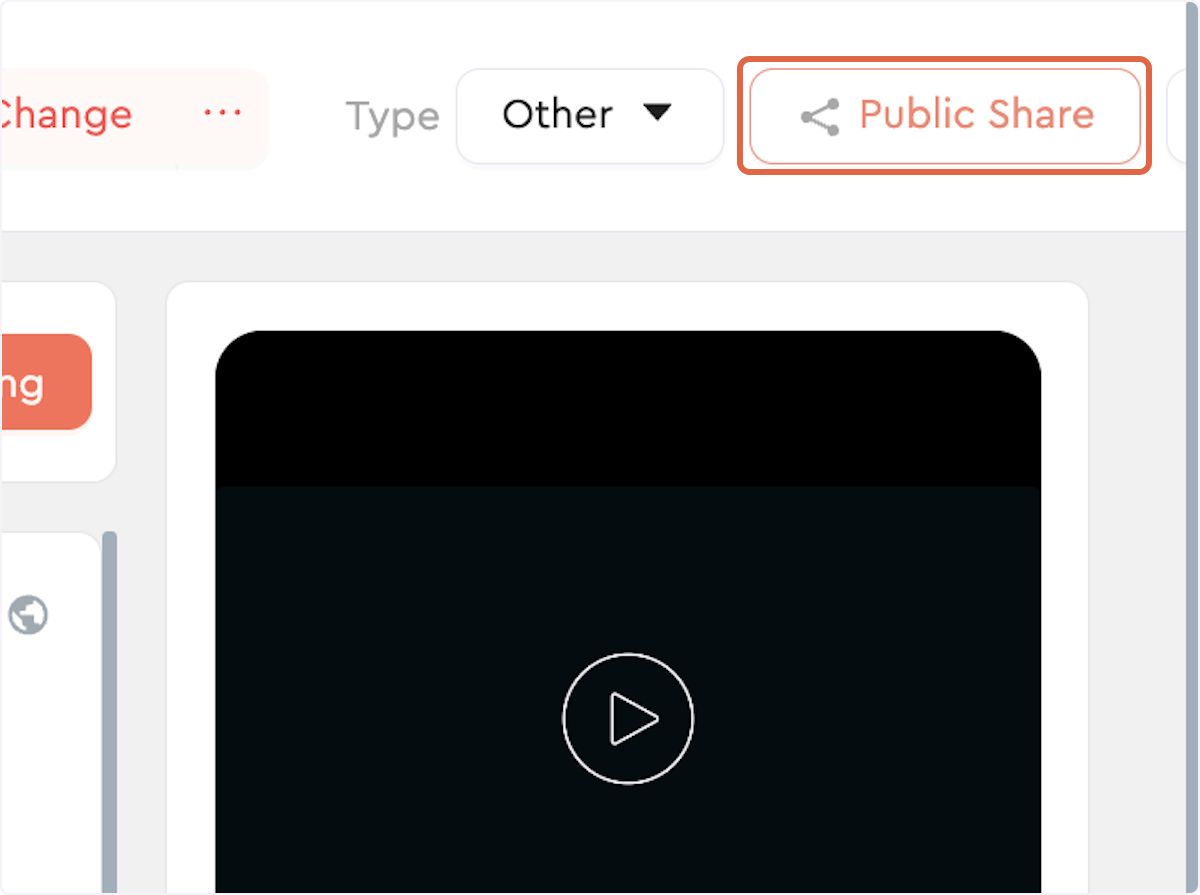
3. Click on Public Share.
4. You can set an expiration date to be associated with the link. After this date, the link will no longer work, regardless of the type of link sent. We recommend 100 days for ease, but the choice is yours.

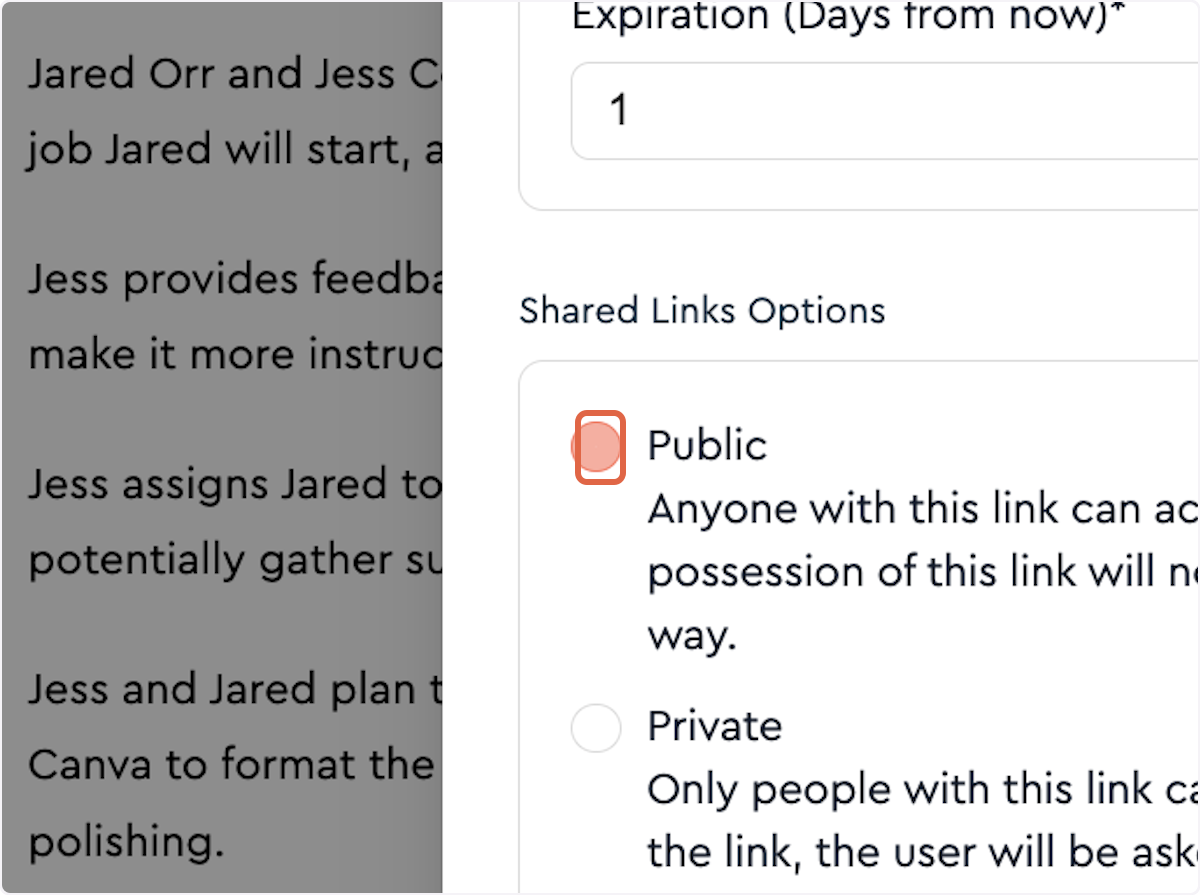
5. There are three types of links available: public, private and user specific. A public link is best used for meetings with no sensitive information.
With Public links, anyone with this link can access the recap. Users in possession of this link will not be prompted to authenticate or confirm their identity in any way.
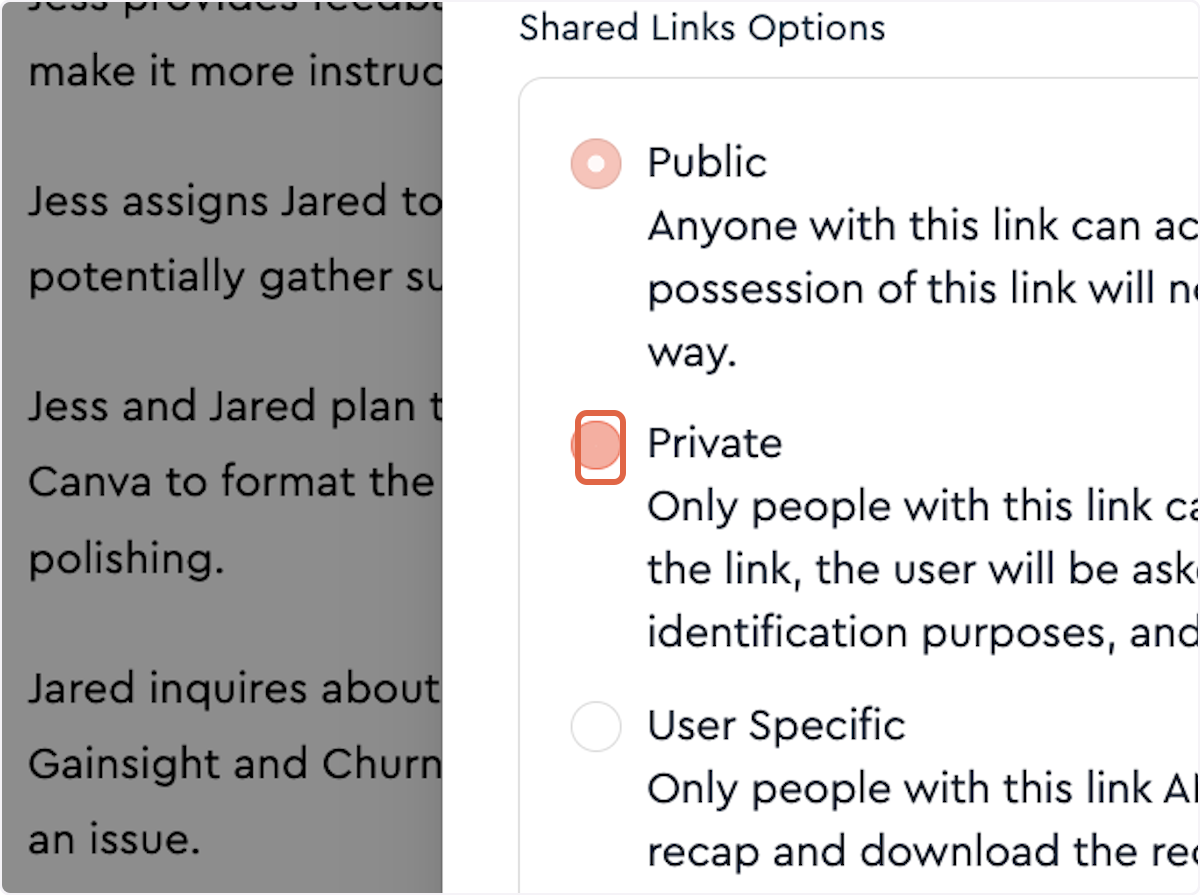
6. A private link is best used for meetings with some sensitive information, and in cases when you want to know who has accessed the recap.
With Private links, only people with this link can access the recap. When using the link, the user will be asked to enter their email address. However, this is only for identification purposes, and no user will be turned away.
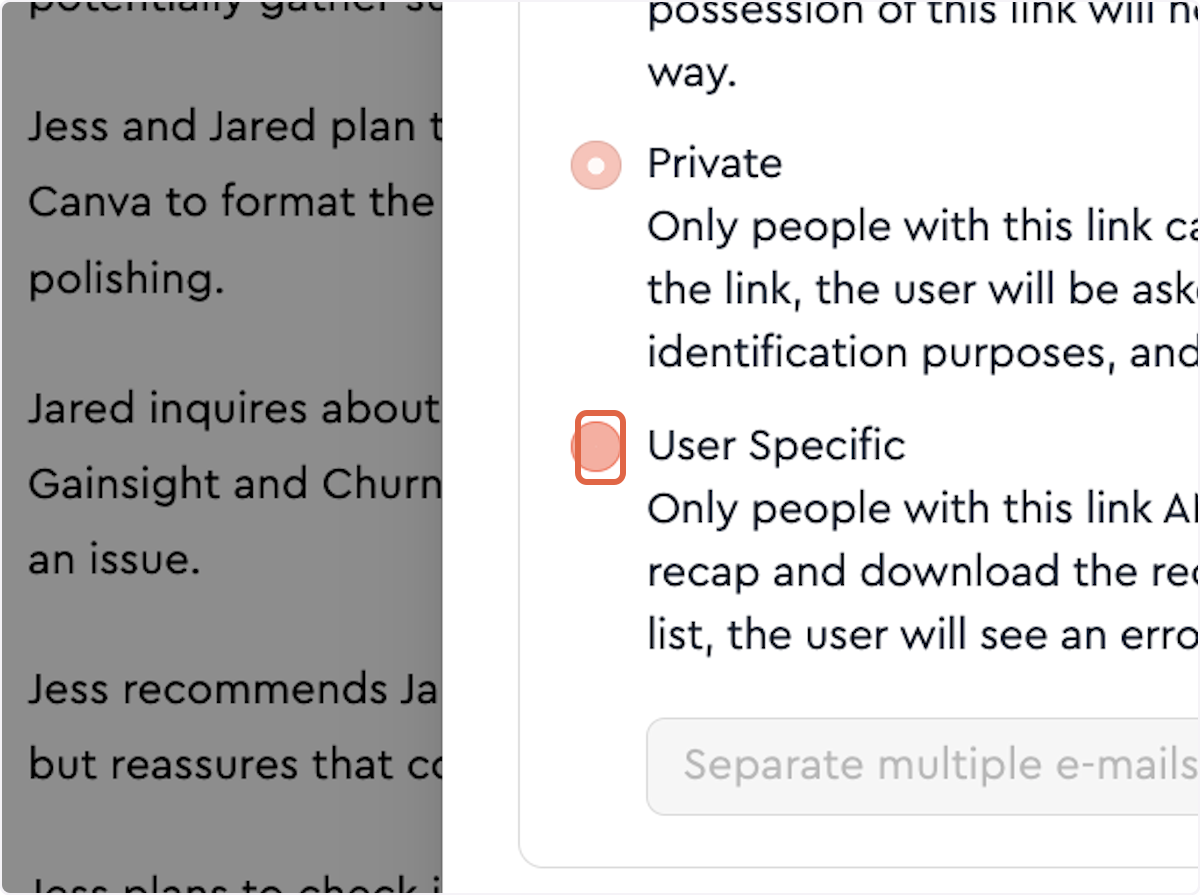
7. A User Specific link is best used for meetings with very sensitive information, and in cases when you want to limit access to certain people.
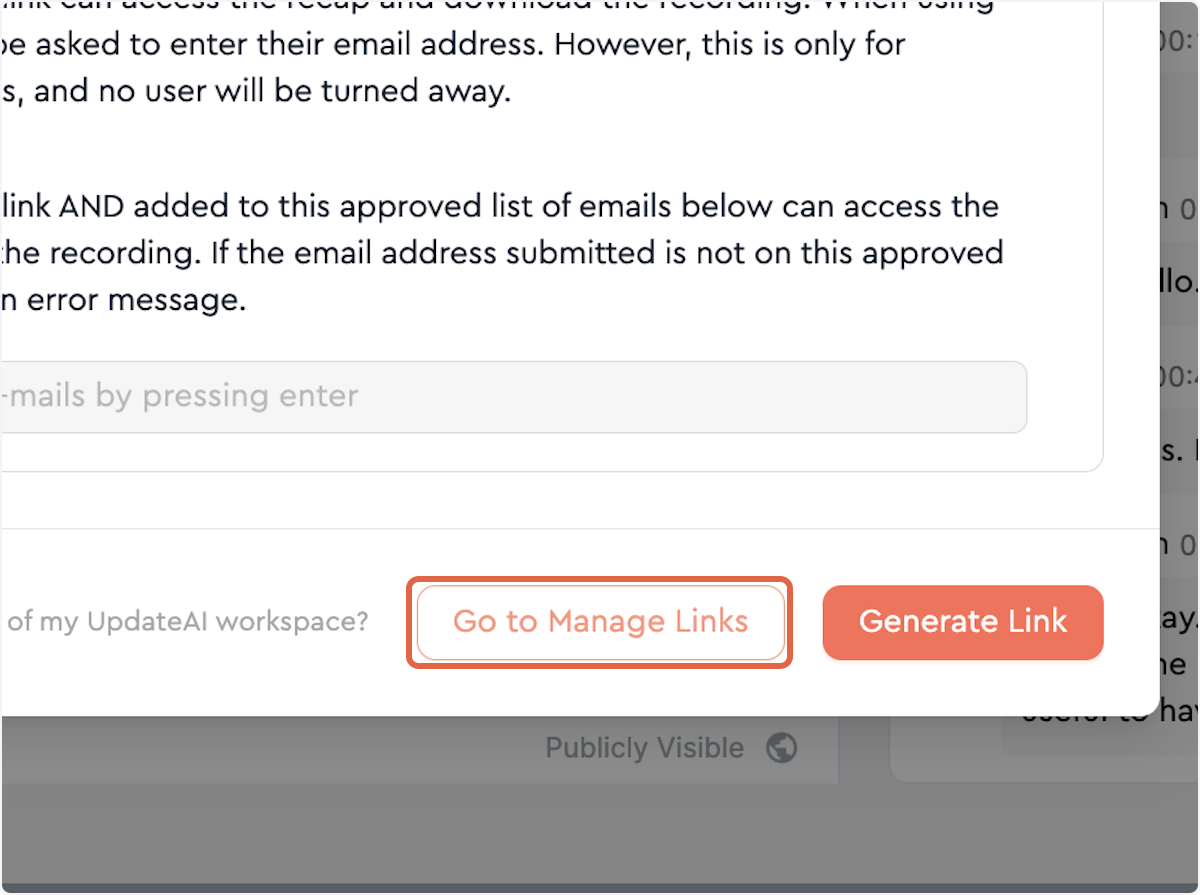
With User Specific links, only people with this link AND added to this approved list of emails below can access the recap. If the email address submitted is not on this approved list, the user will see an error message.
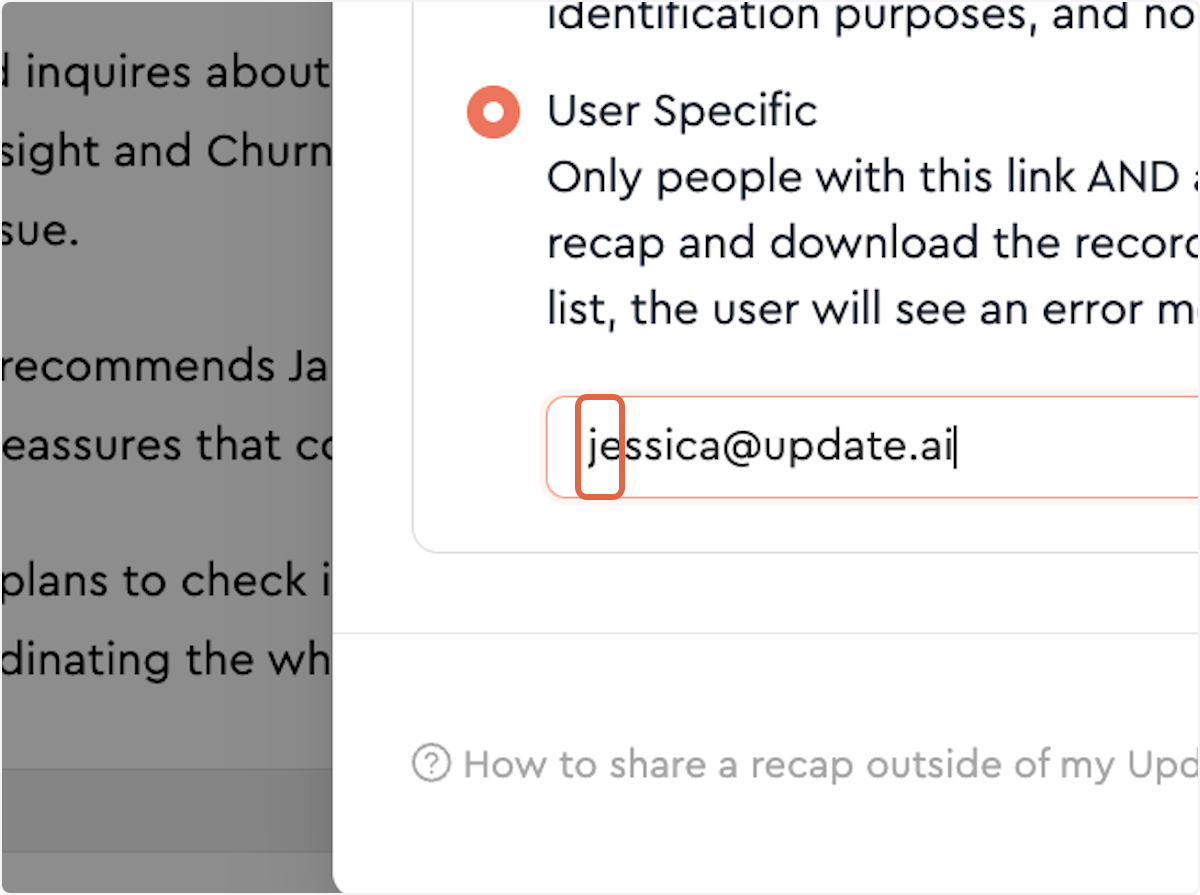
8. To activate the User Specific links, add the email addresses of your selected users to the text box shown.
Please note: adding email addresses here does not automatically send the link. You still need to copy and send the link separately.
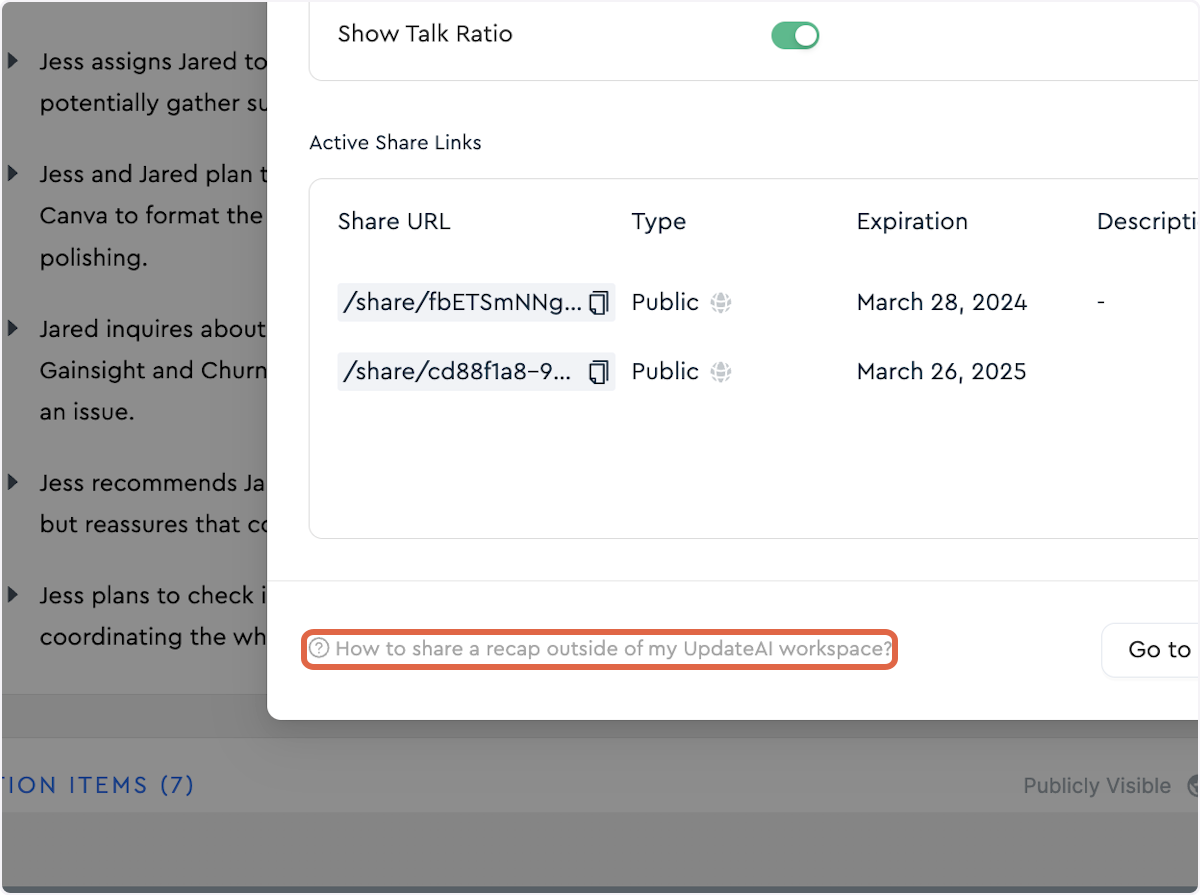
9. To choose what information is included on the Public Recap page, click on Go to Manage Links.

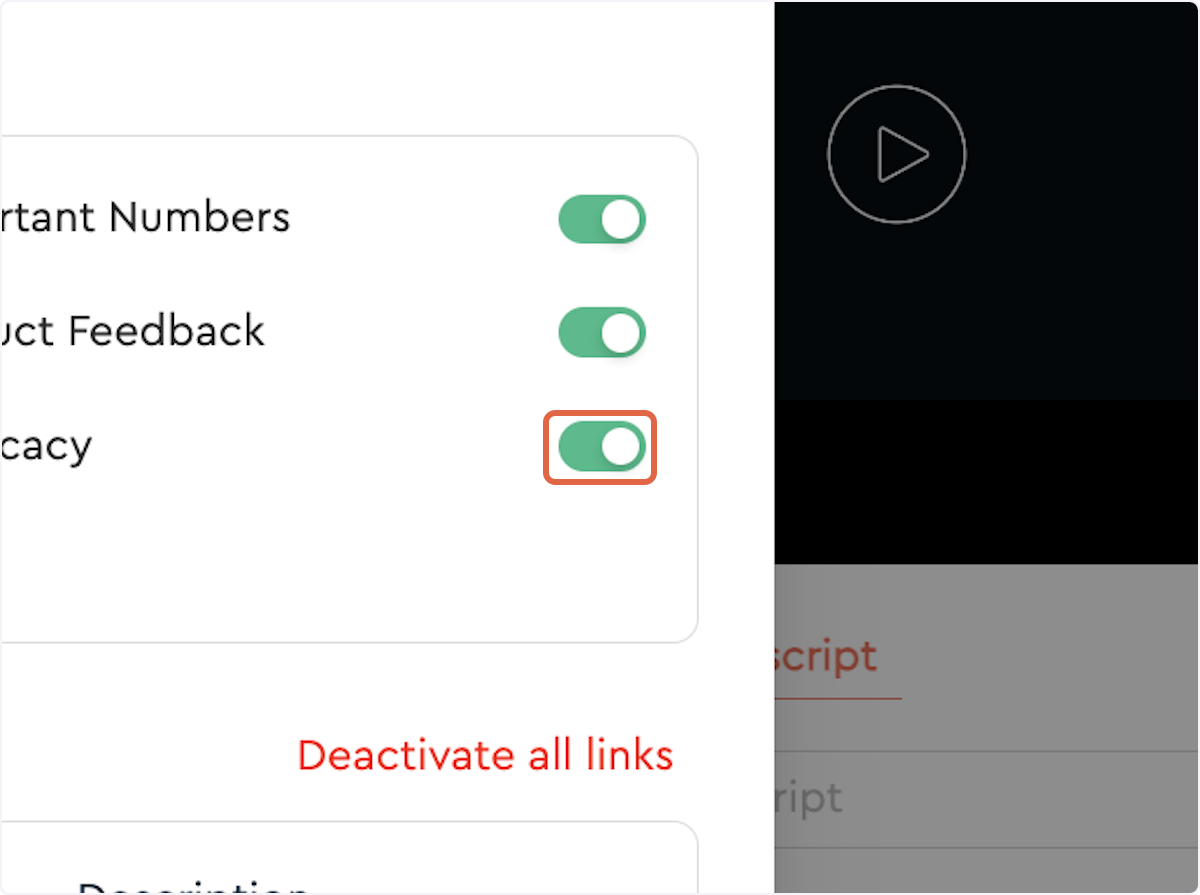
10. Within the Manage Links screen you will see options to include or exclude sections of the recap from the public view. Toggle the buttons as needed.
The default setting is to share all information. However, we find most users prefer to share only the TL;DR and Action Items sections, excluding all others.
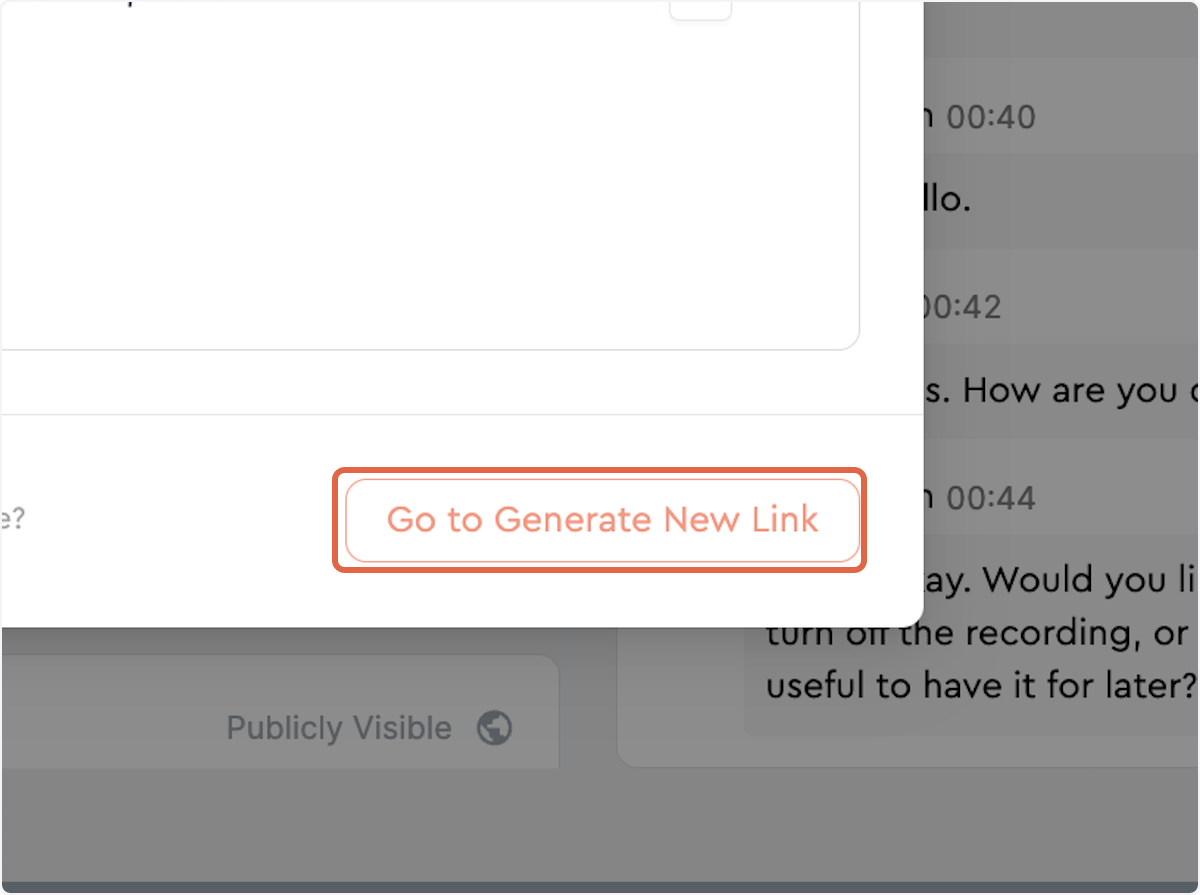
11. Click on Go to Generate New Link. This will copy a link to your clipboard, and you can paste anywhere.
12. After you have shared the link, you can manage the link by clicking on Go to Manage Links.
13. Now you will see the links generated previously.
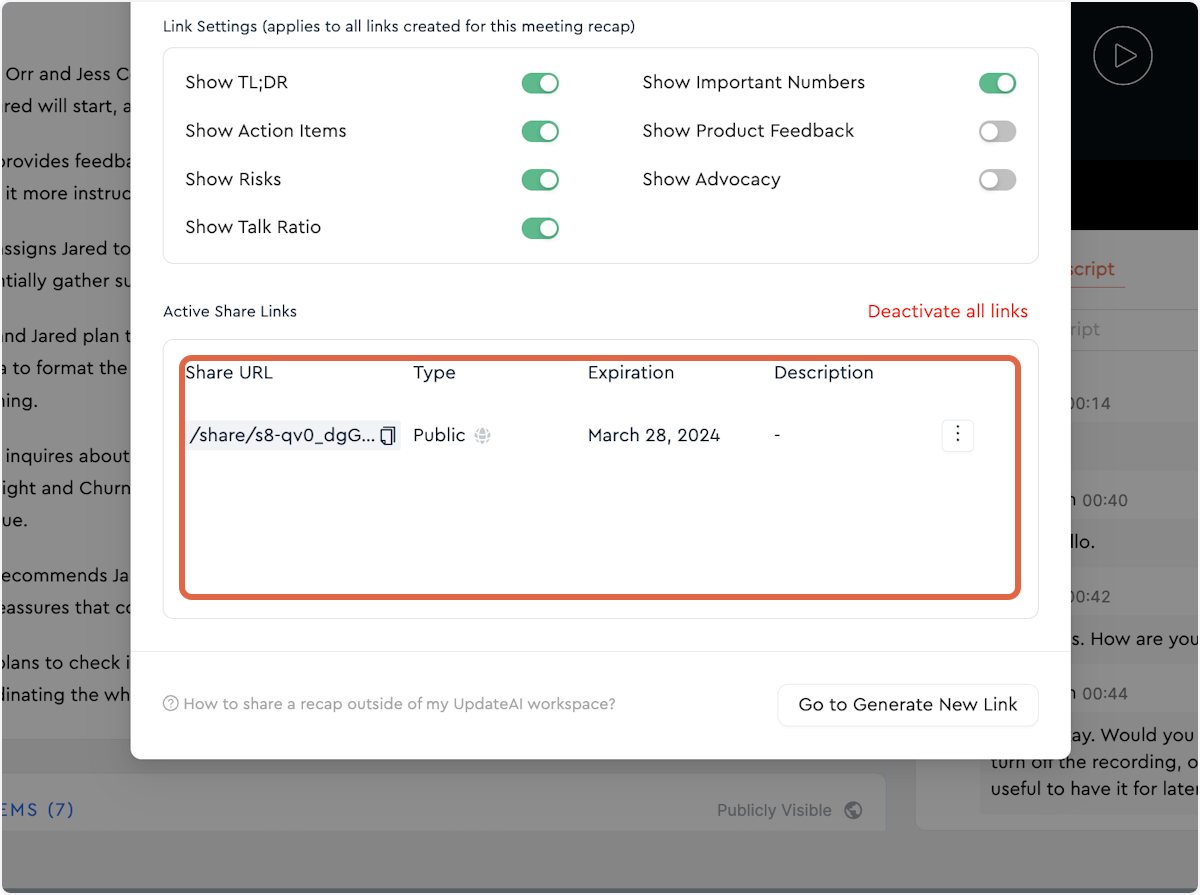
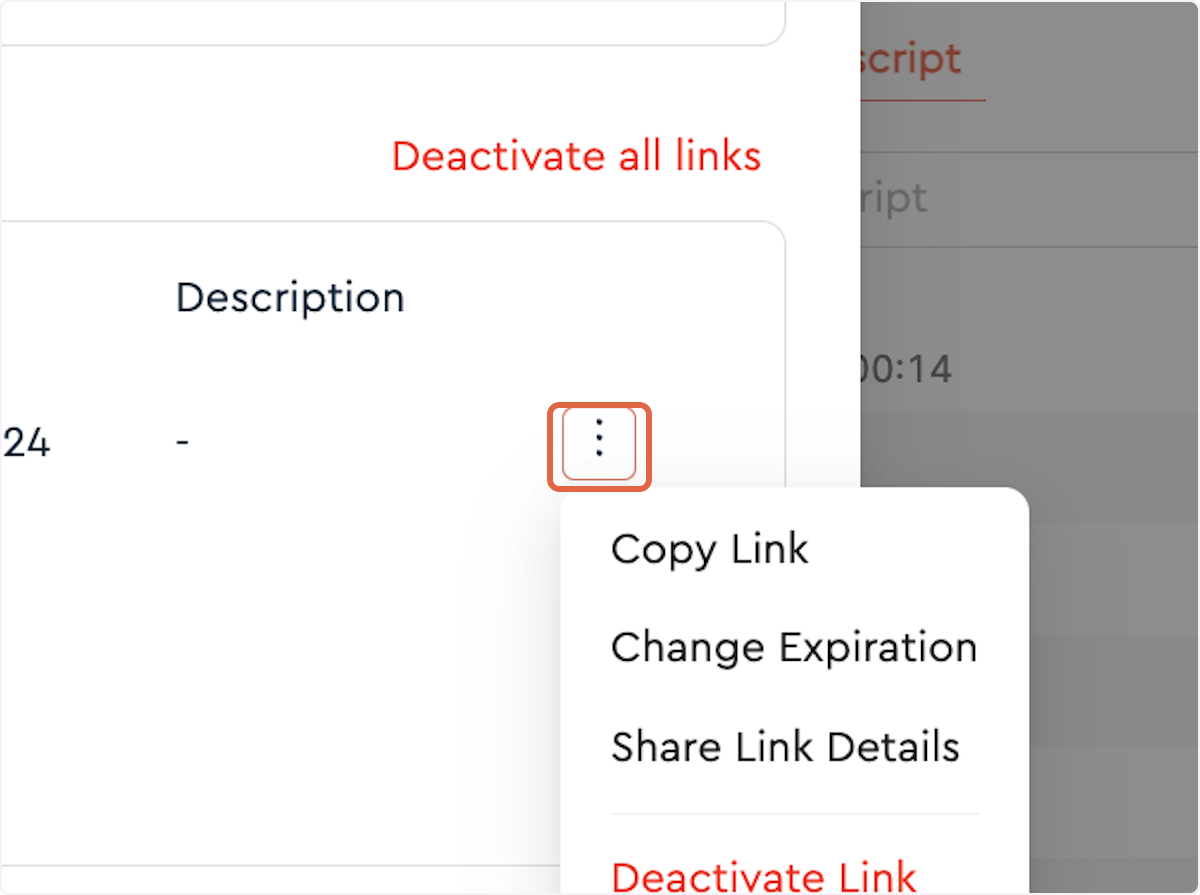
14. By clicking on the three dots, you will see options to copy the link, change the expiration, share the link details, and deactivate the link.
15. For more information, click on How to share a recap...